
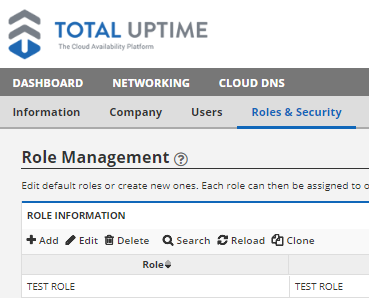
This section displays a list of roles for the companies you have access to view. Each company supports an unlimited number of roles which allow you to control access to various sections of the cloud management portal. You can choose whether a role should have Full access, read, read/write or if it is disabled entirely. Only the products or solutions the company has access to will be displayed in the role settings page. Use the search button to easily find a role if there are many.
Role Management:
When your account is first created, you will have two default security roles.
Default_User_YourCompany: This is a role with no access to any settings in the UI.
YourCompany Admin: This is a role with full access to all settings in the UI.
If you need more granular control of your user’s access, you can create a new role.
- Add – Press the Add button to add a role.
- Edit – Select a role and press “Edit” to edit a role.
- Delete – Select a role and press “Delete” to delete a role.
- Search – Press the “Search” button to find a role.
- Clear Filter: You can press the Clear Filter button at any time to clear your search filter and display all roles.

- Clear Filter: You can press the Clear Filter button at any time to clear your search filter and display all roles.
- Reload – Refresh the screen.
- Clone – Use this to copy a role’s settings into a new role. You will be given an opportunity to rename the role, and to edit any settings it contains before saving it. Each role needs a unique name to identify it.
Login Access Control List:
This section allows you to specify public IP addresses that are permitted to log in to the UI or use the API from. Allowed IP addresses are applied to Security Roles, not to specific users or companies. By default the table is empty, which allows any IP address access to both the UI and API. As soon as you specify your first IP address, only it will be allowed and all others will be blocked. Add your entries carefully, starting with the IP address you are currently using to access the UI (which will be shown and suggested to you the first time you click the ADD button on the toolbar).

- Add – Add an IP address to allow login access from.
- Edit – Edit an IP address to allow login access from.
- Delete – Remove an IP address from having login access.
- Search – Search for an IP address in the list.
- Clear Filter: You can press the Clear Filter button at any time to clear your search filter and display all roles.

- Clear Filter: You can press the Clear Filter button at any time to clear your search filter and display all roles.
- Reload – Refresh the page.