
If you have a Windows machine, temporarily adding a line to the hosts file is the easiest way to test a DNS change before actually making it live. This article outlines the steps you can perform to test.
The location of the Hosts file can usually be found in %systemroot%\system32\drivers\etc\ where %systemroot% is usually C:\windows, unless you installed Windows in a different partition.
But you usually can’t go to that folder and edit the hosts file. It is hidden by default, and even if it is not hidden, you need to edit in notepad with administrative privileges.
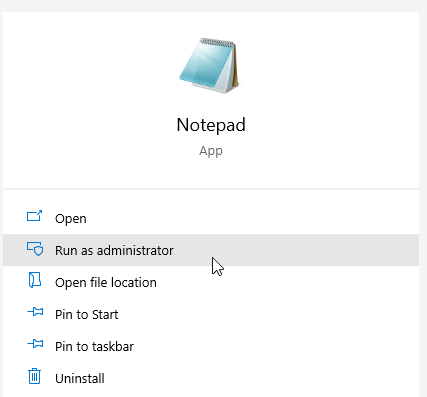
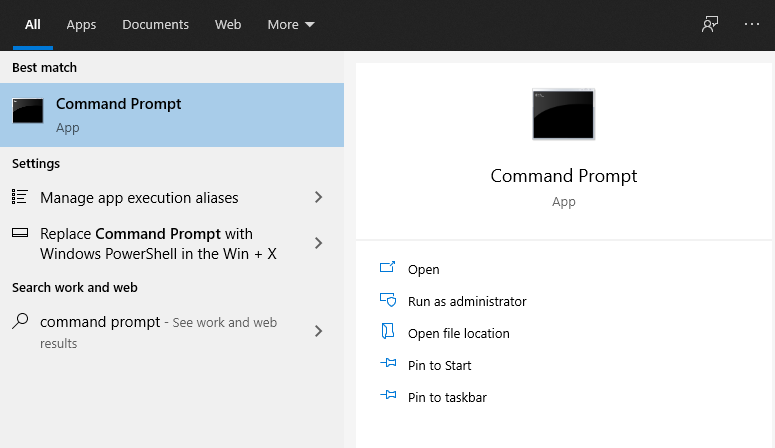
In Windows 10, go to the START menu and search “notepad”, then click “Run as Administrator”.
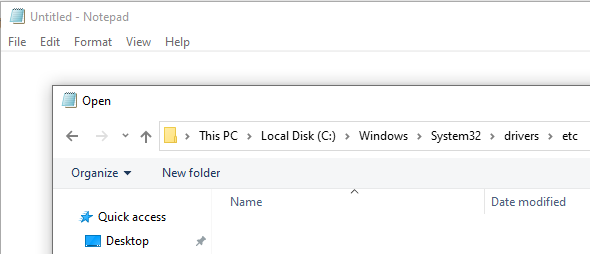
Now in the blank notepad file that opens, go to FILE > OPEN and type in the path to the directory where the hosts file can be found, as shown below and hit enter.
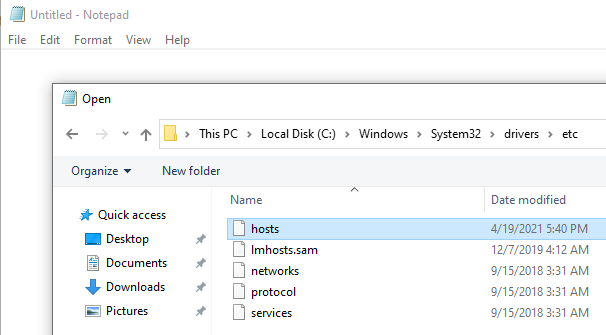
Once in the ETC directory, choose to show ALL FILES in the bottom of the Open dialog pictured below.

Now you should see 5 files in that directory. Select to open the hosts file as shown below.
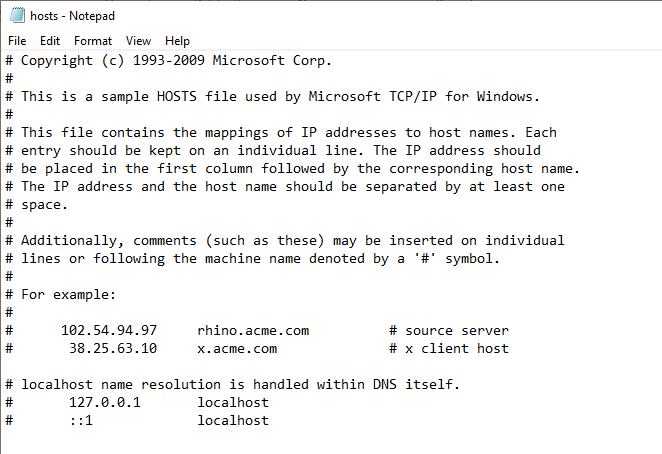
Your hosts file should open in notepad and look like this:
To temporarily bypass DNS with a specific entry, you will need to add it at the bottom of the file. For example, if you want to resolve example.com to the IP address of 1.1.1.1, add this to the bottom of your file:

In our example above, there is a TAB (not a space) between 1.1.1.1 and example.com. Of course, you probably want to resolve DNS to something else, like the cloud load balancing or WAF IP address, so enter that instead.
Then choose SAVE from the file menu (or hit <CTRL> S) but leave the notepad file open so you can return it to normal in a few minutes.
Now test your entry by opening up a command prompt and pinging example.com.
Type “ping example.com” in the window and hit enter. You should see the following results.
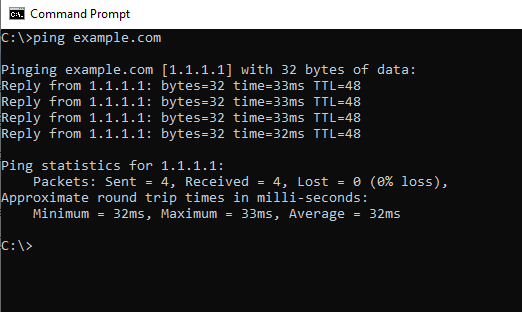
What you see is that example.com resolves to 1.2.3.4, or in your case if you entered something differently, ping that host name instead to see that it resolves to the IP you entered, not anything else. It doesn’t matter that the request times out, although if you are pinging a cloud IP from our network, it should not time out. If it does, the load balancer or WAF may not be configured or published correctly.
Now that you know you have successfully bypassed external DNS, you can put the DNS name in your browser. So open up your favorite browser and go to “example.com”. If it is a cloud IP address, it should successfully proxy through our network to the real server behind it.
When you’re done testing, remove that one line from the hosts file and save and close to return everything back to normal.
If you need assistance, do not hesitate to contact us. We’re here to help!